how to install ruby on rails on MacOS X Mavericks ( 10.9 ) with mysql step by step
In this tutorial, I’ll guide you through the steps for installing Ruby and the Rails gem on your freshly installed macOS X Mavericks 10.9. In this tutorial, I’ll use RVM (Ruby Version Manager) to install Ruby and nano as a text editor. Let’s get started.
Note: macOS X Mavericks (10.9) is a very old version (released in 2013). This tutorial is kept for historical reference. For modern macOS versions, the installation process may differ. Consider using Homebrew and rbenv or the latest RVM installation methods.
Install required Components
1 . xcode (command line tools )
Install Xcode and then install command line tools or just install command line tools standalone. Open Terminal and type:
xcode-select --install
and choose install
2 . Homebrew
Homebrew is an awesome package manager for Mac. If you’ve used Mac before, you most likely know about it. For newcomers, it’s like apt-get and yum-install tools for Mac.
Open Terminal and paste:
/bin/bash -c "$(curl -fsSL https://raw.githubusercontent.com/Homebrew/install/HEAD/install.sh)"Note: The Homebrew installation URL has changed. The command above uses the modern installation method.
after installation open terminal and run
brew doctor
**Start **Installation
1 . Installing mysql ( & setup path )]
I prefer MySQL as my database. There are two most common ways to install MySQL on your Mac: First, by using the official DMG file; Second, by using Homebrew.
install using homebrew
brew install mysql
After installation, open your .bashrc file, or if you are using zsh, then open the .zshrc file.
and add at the end ( for DMG installation )
export PATH=$PATH:/usr/local/mysql/bin
for brew installation
export PATH=$PATH:$(brew --prefix mysql)/bin
- Installing RVM
Before installing RVM, you can optionally install GCC 49 (though this is outdated for modern systems):
brew install autoconf automake libtool libyaml readline libksba openssl
Note: The homebrew/versions tap and gcc49 are no longer available. Modern systems should use the default GCC or Clang compiler.
after installation open your .bashrc file and add
#export CC=/usr/local/bin/gcc-4.9
#export CPP=/usr/local/bin/cpp-4.9
#export CXX=/usr/local/bin/g++-4.9
they are COMMENTED out , UNCOMMENT that when you facing problem in installing gems ( like libv8 and therubyracer )
my .zshrc 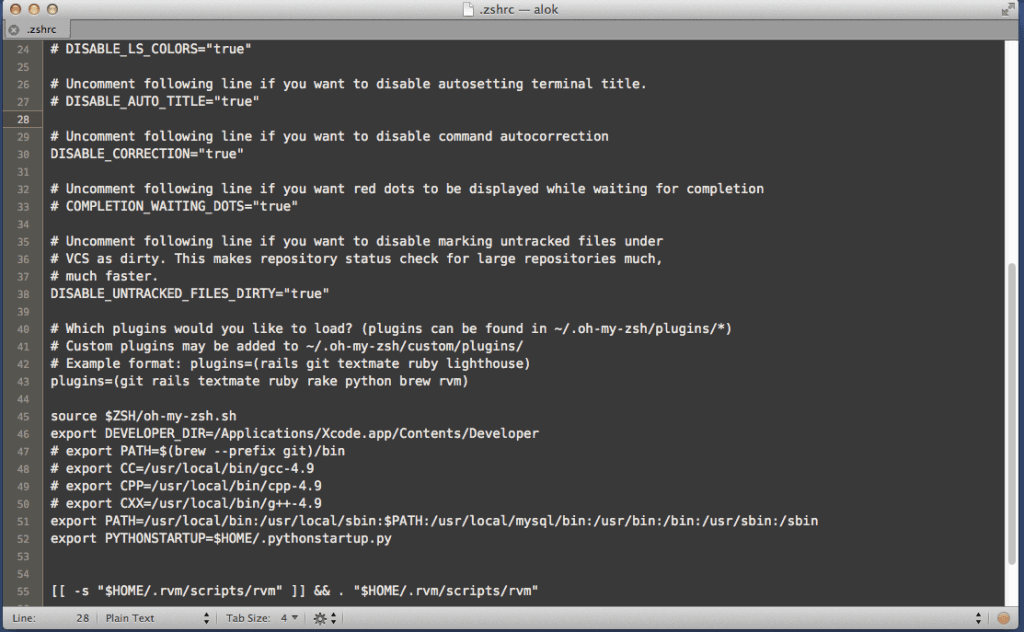
Now it’s time to install RVM:
\curl -sSL https://get.rvm.io | bash -s stable
after installation quite terminal and open again and type
type rvm | head -n 1
if installation was successful then you will get
rvm is a function

otherwise try to troubleshoot your rvm installation . ( as your question in our forum )
- Installing Ruby
After installing RVM, let’s install Ruby:
rvm install ruby-2.0.0-p247
Note: Ruby 2.0.0-p247 is very outdated. Consider installing a more recent version like Ruby 3.1.0 or 3.2.0 for better security and features:
rvm install ruby-3.1.0
after installation restart your terminal and type
rvm use 2.0.0-p247
ruby -v
you will get
ruby 2.0.0p247 (2013-06-27 revision 41674) [x86_64-darwin13.0.0]
it means now ruby is installed its time to install gems
- Installing Rails (and other gems)
Rails is a gem, and installing gems is easy. Just type:
gem install rails
gem install mysql2
it will install all dependent gems as well
5 . Verifying installation
after installing gem type
rails -v