How to install Ruby On Rails in ubuntu
Ruby is awesome! Getting up and running with the latest Ruby development environment isn’t always easy. RVM (Ruby Version Manager) comes in handy for getting the latest Ruby. RVM is awesome, but when you first look at rvm.io, you might get confused about what to use and how to set up your development environment. If you want to see an alternative, you can see rbenv, which is also great and more lightweight than RVM. Here’s a simple guide to installing Ruby and Ruby on Rails on Ubuntu. Open your terminal and follow these steps (you can type or copy-paste the commands).
First, Install Required Packages
sudo apt-get update
sudo apt-get install curl git software-properties-common 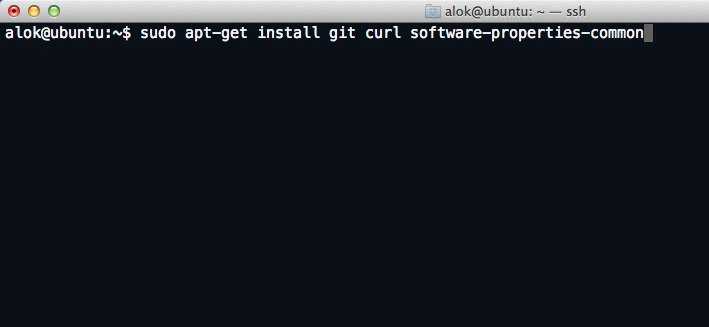
sudo apt-get install gawk g++ gcc make libc6-dev libreadline6-dev
zlib1g-dev libssl-dev libyaml-dev libsqlite3-dev sqlite3 autoconf
libgdbm-dev libncurses5-dev automake libtool bison pkg-config libffi-dev
Next, Install RVM
Open your terminal and run:
curl -sSL https://get.rvm.io | bash -s stableIn case of GPG bad signature or error, run this command:
gpg --keyserver hkp://keyserver.ubuntu.com --recv-keys 409B6B1796C275462A1703113804BB82D39DC0E3 7D2BAF1CF37B13E2069D6956105BD0E739499BDB
source ~/.rvm/scripts/rvm
type rvm | head -n 1
rvm is a function 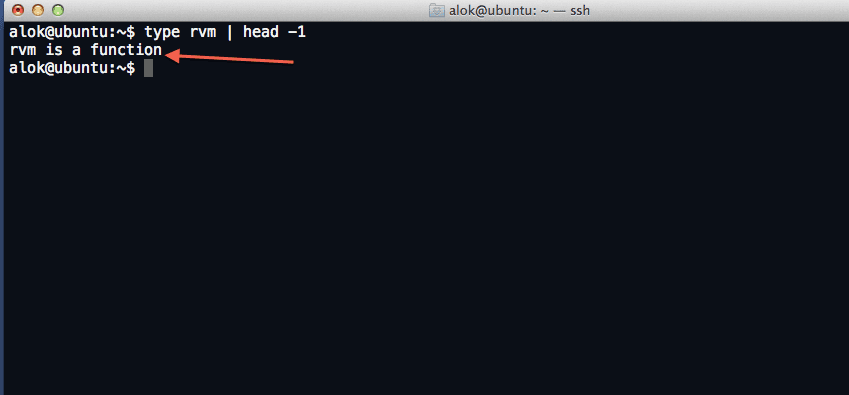
Now lets install ruby
rvm install ruby-2.0.0-p247 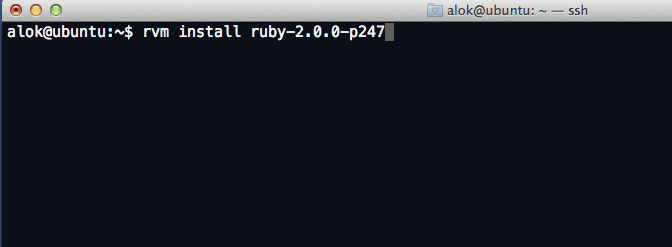
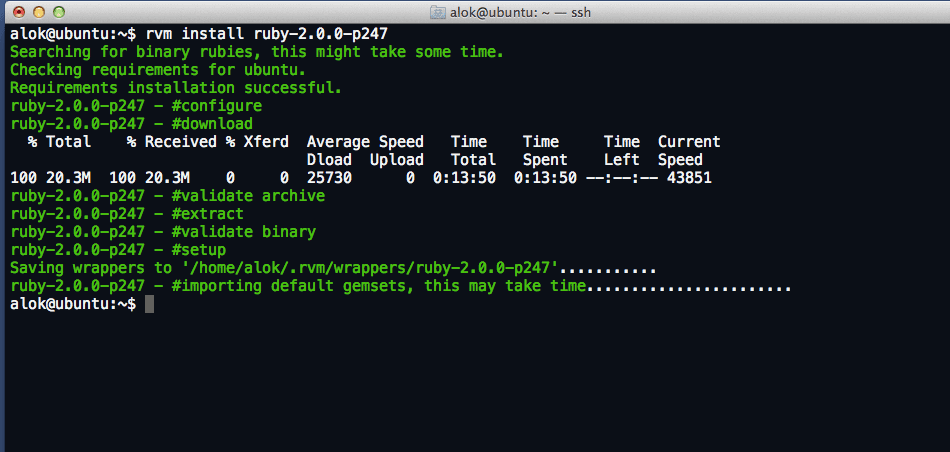
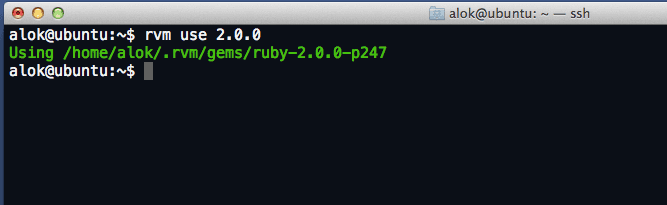
Now ruby is installed . now lets install gems
create gemset and set rvm to use that Gemset as default
rvm gemset create r4
rvm use 2.0.0-p247@r4 --default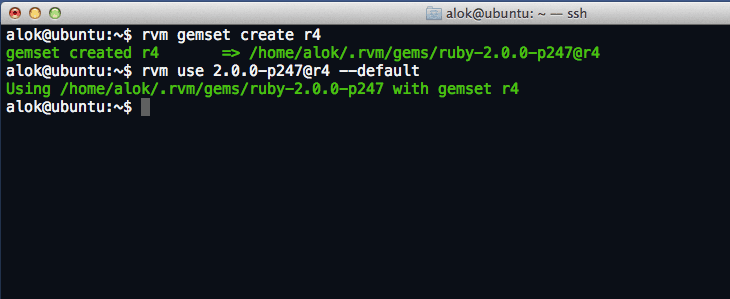
Now lets start installing gems
gem install bundler
gem install rails
wait until it finish installing and after that you can see all the installed gems by using ‘$ gem list ‘